Introduction
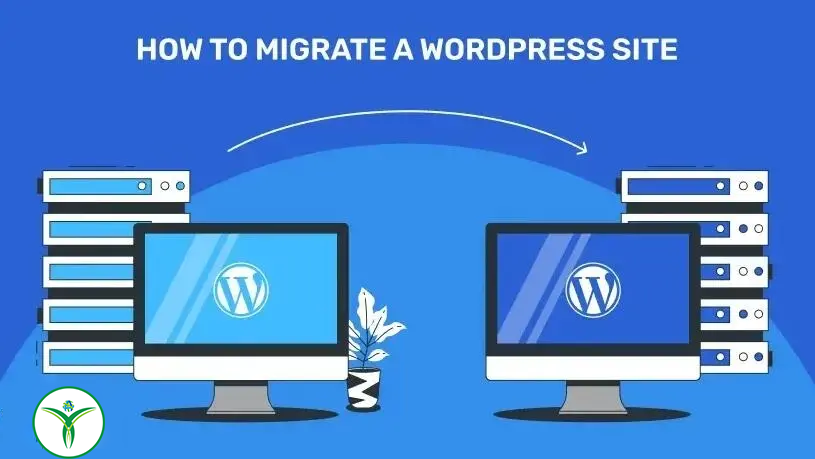
Migrating a WordPress website to a new host can seem like a daunting task, but with the right guidance and tools, it can be a smooth process. Whether you’re looking to switch to a faster host, upgrade your hosting plan, or simply change providers, this guide will walk you through the steps to successfully migrate your WordPress site without losing any data or functionality.
Why Migrate a WordPress Website?
There are several reasons why you might need to migrate your WordPress website to a new host:
- Performance: If your current host is slow or unreliable, migrating to a new host can improve the performance and reliability of your website.
- Scalability: As your website grows, you may need to upgrade your hosting plan to accommodate increased traffic and resource demands.
- Better Features: A new host may offer better features, such as automatic backups, staging environments, or improved security measures.
- Cost Savings: Switching to a new host may save you money if you find a more affordable hosting plan with similar or better features.
Common Methods to Migrate a WordPress Website

There are several methods you can use to migrate a WordPress website to a new host. Each method has its own advantages and considerations, so choose the one that best fits your needs and technical expertise.
- Manual Migration
- Using a WordPress Plugin
- Using a Migration Service
In the following sections, we’ll explore each of these methods in detail, providing step-by-step instructions and tips for a successful migration.
1. Manual Migration
Manual migration involves transferring your WordPress files and database to the new host manually. While this method requires more technical expertise, it gives you greater control over the migration process and can be more reliable in certain situations.
Step 1: Back up Your Website
Before you begin the migration process, it’s essential to back up your WordPress website to ensure that you can restore it in case anything goes wrong during the migration. You can use a WordPress backup plugin like UpdraftPlus or manually back up your files and database through your hosting control panel.
Step 2: Export Your WordPress Database
To export your WordPress database, you’ll need access to phpMyAdmin, a web-based database management tool provided by most hosting providers. Log in to phpMyAdmin and select your WordPress database from the list on the left-hand side. Click on the “Export” tab, choose the “Quick” export method, and click the “Go” button to download a .sql file containing your database.
Step 3: Transfer Your WordPress Files
Next, you’ll need to transfer your WordPress files to the new host. Connect to your current hosting account using an FTP client like FileZilla and download all of your WordPress files to your computer. Then, connect to your new hosting account and upload the files to the appropriate directory (usually public_html or www).
Step 4: Import Your WordPress Database
Once you’ve transferred your WordPress files, you’ll need to import your database into your new hosting account. Log in to phpMyAdmin on your new hosting account, create a new database, and import the .sql file you exported earlier. Be sure to update the database settings in your wp-config.php file to reflect the new database name, username, and password.
Step 5: Update Your DNS Settings
Finally, you’ll need to update your domain’s DNS settings to point to your new hosting provider. This step may take some time to propagate across the internet, so be patient and allow up to 24-48 hours for the changes to take effect.
2. Using a WordPress Plugin

Using a WordPress migration plugin is a simpler and more user-friendly option for migrating your website to a new host, especially if you’re not comfortable with manual migration procedures.
Step 1: Choose a Migration Plugin
There are several migration plugins available for WordPress, but some of the most popular options include Duplicator, All-in-One WP Migration, and Migrate Guru. Choose the plugin that best fits your needs and install it on your WordPress website.
Step 2: Create a Backup
Before you begin the migration process, it’s a good idea to create a backup of your WordPress website using the migration plugin. This will allow you to restore your website in case anything goes wrong during the migration process.
Step 3: Configure the Migration Plugin
Once you’ve installed and activated the migration plugin, navigate to the plugin’s settings page and follow the on-screen instructions to configure the migration settings. You’ll need to provide the details of your new hosting account, including the server address, username, and password.
Step 4: Perform the Migration
Once you’ve configured the migration settings, you can initiate the migration process from within the plugin’s interface. Depending on the size of your website and your internet connection speed, the migration process may take some time to complete.
Step 5: Update Your DNS Settings
After the migration is complete, you’ll need to update your domain’s DNS settings to point to your new hosting provider. This step may take some time to propagate across the internet, so be patient and allow up to 24-48 hours for the changes to take effect.
3. Using a Migration Service
If you’re not comfortable with manual migration procedures and prefer a hands-off approach, you can use a migration service to transfer your WordPress website to a new host.
Step 1: Choose a Migration Service
There are several migration services available that specialize in transferring WordPress websites between hosting providers. Some popular options include SiteGround Migrator, Bluehost Site Transfer, and WP Engine Automated Migration.
Step 2: Provide Your Website Details
To use a migration service, you’ll need to provide your current hosting account details, including your website’s FTP credentials and database access information. You’ll also need to provide the details of your new hosting account, including the server address, username, and password.
Step 3: Initiate the Migration
Once you’ve provided the necessary information, the migration service will handle the rest of the migration process for you. Depending on the service you choose, this may involve transferring your WordPress files, database, and other website assets to your new hosting account.
Step 4: Verify the Migration
After the migration is complete, it’s important to verify that your website has been transferred successfully to your new hosting provider. Check that all of your pages, posts, images, and other content are displaying correctly, and test any interactive features or functionality to ensure that everything is working as expected.

Conclusion
Migrating a WordPress website to a new host can seem like a daunting task, but with the right tools and guidance, it doesn’t have to be difficult. Whether you choose to migrate your website manually, use a WordPress migration plugin, or enlist the help of a migration service, following the steps outlined in this guide will help ensure a smooth and successful migration process. By taking the time to properly plan and execute your migration, you can avoid downtime, data loss, and other common pitfalls associated with website migrations, and enjoy the benefits of a faster, more reliable hosting provider.
Check our Services for any type of projects.
Chekout our profile on fiverr.


